
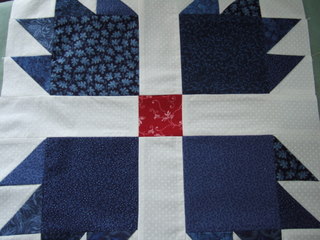
This is how the Bear Paw Block comes together for the Lap Throw I am designing for Operation Lap Wrap.

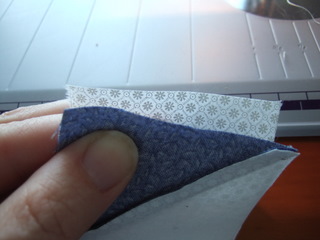
Sew the dark side on top.
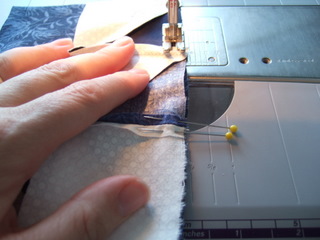
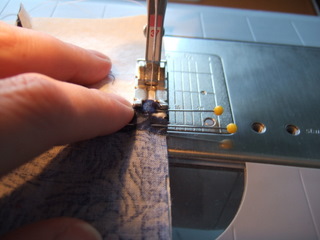
Make sure your seam allowances are 1/4″. I am using a quilting foot which is 1/4″ from center to edge of foot. I just line up the edge of the foot with the edge of the fabric before I start to sew.

Continuous sewing. Sew everything you can in one pass.
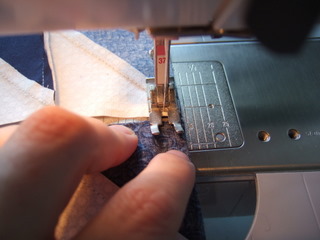
When you get to a piece that will have a point make sure your needle goes through the point of the triangle.
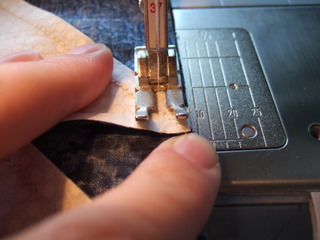
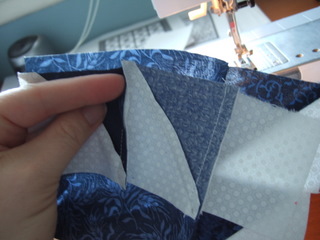
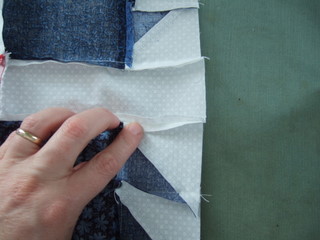
On this block, except for the triangle pieces I open up my seams on everything else. To match up the seams I use two pins. I have found this works better than using the technique of putting 1 pin in the seam line. Having 2 pins keeps both seam allowances on either side down and the fabric does not shift.


When you get to the pins take them out one at a time before sewing over them. The world won’t come to an end if you do, but be careful as you could break your sewing needle if you hit it. Try to get them out before the feed dog grabs them.

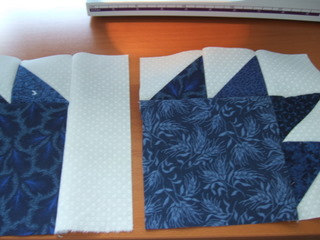
Alright, here’s one corner finished. Do 3 more just like this.

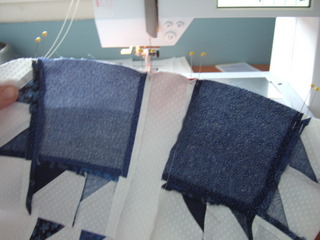
Next up is sewing the center pieces to each of the 4 corners.

Sew with the solid piece on the underside. You want to be able to see those triangle points to sew through!


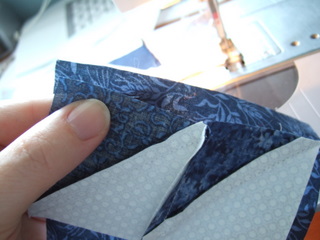
Perfect corners.

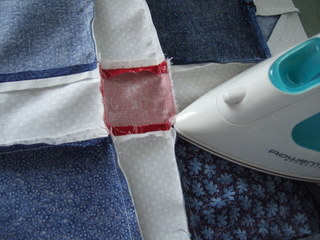
The block is now sewn. Just need to press it!


I start by opening up the seams and pressing them. Just place the iron on the seam and hold it there for a couple of seconds. Continue to work around the block.


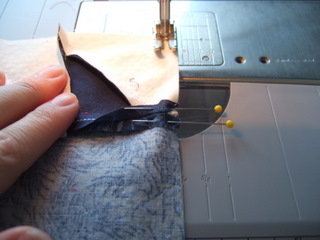
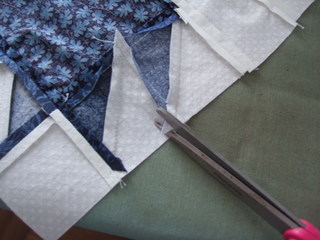
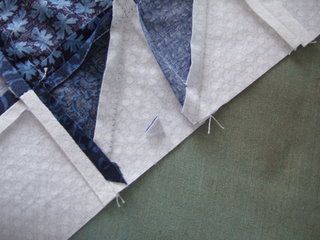
Here’s a triangle I forgot to trim. These little triangles just get snipped off as you work. Snip them flush to the seam allowance. Doing so reduces bulk and having them show through to the top of your quilt.
Flip over and press the right side.


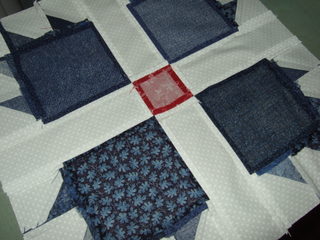
Nice and flat. Here’s what the underside will look like.


Make 3 more just like it. I’ll show you how we’re going to quilt each block separately by machine then put them together. This quilt is designed so a group can put all the pieces together and end up with a quilt ready to go.
Here is the pattern for the half square triangles used in this quilt.
