
Hi Friends and Followers!
Today we started painting! Aren’t you just dying to know what color we picked for the walls? Can I just say right now that this was the longest I’ve ever taken to pick out a color!
I don’t know what it was, maybe because I wanted a green, and greens are notorious for being difficult to get right? I know that’s true in oil/water/acrylic painting, it just takes a little yellow to get the green too yellow or just a little blue to get it too blue. I’m not even going to mention brown or red mixed in…you get the idea.
Probably no secret that the greens take up most of the space in the color chip sections of paint stores!
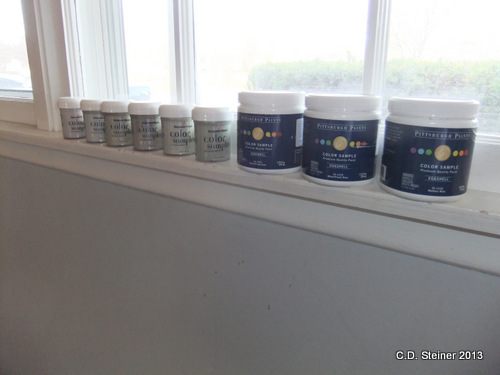
I picked out SEVERAL samples to put up and live with for awhile…
Painted on ALL the walls around the room…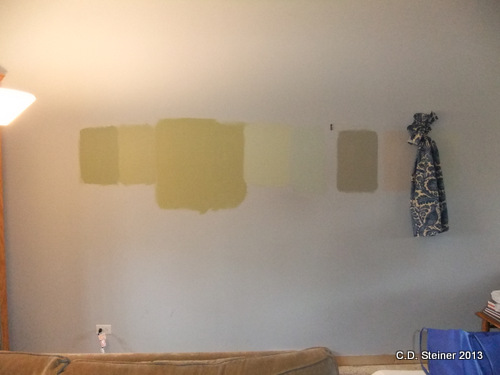
Looked at them under natural light and under artificial light. During the day, during the night, when I woke up and when I went to bed. Seriously, I’ve never obsessed about this so much before. I even put the chairs, the rug, the painting and that curtain fabric I wanted all next to each other trying to get one of those colors to ‘speak’ to me…
The greens looked TOTALLY different on my wall then in the store but we ended up picking one. It is Benjamin Moore Dill Weed. It was between a Pittsburgh Paint color called Savory Root (all the way to the left second from bottom with the paint chip) and the Benjamin Moore Dill Weed (a ‘Happy’ green 3rd from the left in the bottom row, the darkest patch on the wall).
So Dill Weed! Welcome to our Home! You’ve been chosen from thousands of colors. We hope your stay will be worthwhile!
Now. Before we can get Dill Weed on the walls we need to paint the ceilings! Uggh! And we needed to come up with a plan to break up the room to paint in sections.
Here’s how to paint a ceiling…
1. Move furniture into middle of room and drape drop cloths/plastic over them. Ceiling paint will splatter or drip and you don’t want that getting on everything.

2. Fix any wall imperfections. In our case we had several places that needed patching.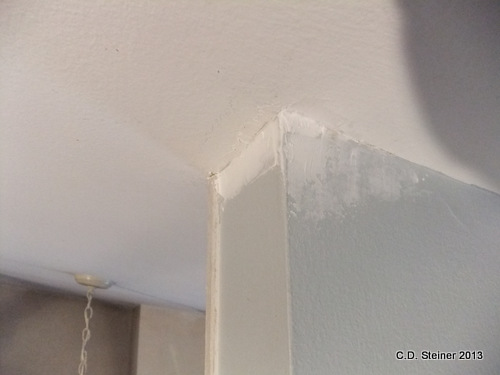
I used both spackling and joint compound in different areas around the room to fill in chips, nail holes, and cracks like the one above.

Jim ran into a big repair in one of the corners in the dining room…
3. Then remove the faceplates from the outlets and any ceiling lights around the room…
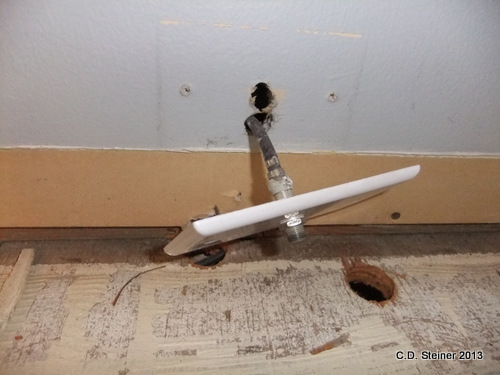


As well as any drapery hardware, you’ll most likely need both a flat head and a Phillips screw driver…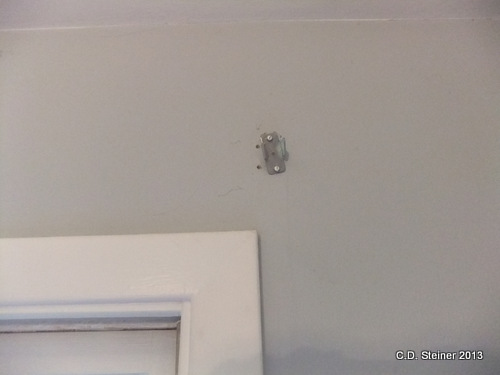

4. Once the joint compound and/or spackling is dry, sand the area smooth…
5. If you are getting new windows (like our front window here) let your husband go to town on some demolition…(just don’t break the glass yet…)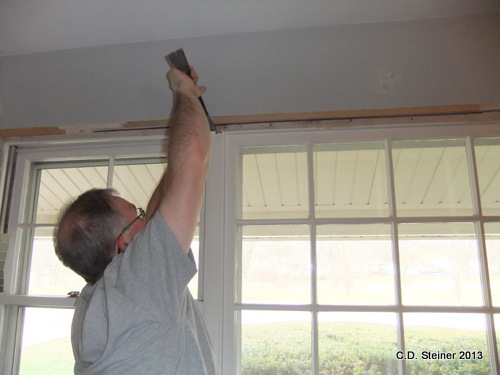
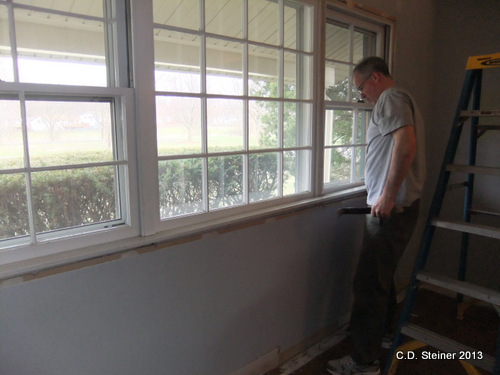

So not necessary for painting the ceiling but what the heck!…
6. Now. Decide which one of you is going to be the “Cutter Inner” and which one of you is going to be the “Roller Oner”. In our case I was the “Cutter Inner”, that meant that I was in charge of ‘starting’ the job.
7. My job was to get the paint on the walls first so I shook up the can of paint…
and stirred it until it was a smooth creamy texture. I poured a small amount into a hand held painting container and with a chisel edged brush dipped only about 1/3rd the length of the bristles into the paint…
This is important! You absolutely do not want to put too much paint on your brush! Too much paint and the paint will just blob and drip uncontrollably all over the place. Not what you want. You want the paint to be on the wall, not on your floor or dripping down. So with just this little amount I started ‘cutting in’…


We only taped the foyer area since the walls won’t be painted in that room, just the ceiling that is connected with the living room. I forgot to mention taping. You’ll want to do that in cases such as that. If the walls are going to be painted you don’t need to worry about that. Just cut in and don’t worry about the paint that gets on the walls, that will get covered up by the wall color.
8. Then it’s the “Roller Oner”‘s turn! With the roller and an extension handle start applying the paint to the ceiling, keeping a wet edge…
In the photo above, you can see that we are breaking up the ceiling into two sections. We are working on the left side of the peak first, going around the room counter clockwise. Our strategy here is once this area is finished we can move the furniture over to the finished side and that will free up the other half of the room to then complete that side.
Let the ceiling paint dry! The ceiling paint needs to be completely dry before painting the wall color or else you’ll get white streaks near the intersections!
Relax, have lunch, or in my case, have a beer and go toss the ball with the dogs…
As for the “Roller Oner” , wait for him to finish and snap a photo!
Next up is the walls!!!
Whoo Hoo!
Happy Painting!
~Cathy

Great pick! When you’re putting in your labour of love in the painting process, it’s important to spend some extra time picking the colour.
Christiana
sewamusing.blogspot.com
LikeLike
Thanks Christiana, the first coat of green is up! I hope to get some photos in the next few days so you all can see the ongoing transformation!
LikeLike